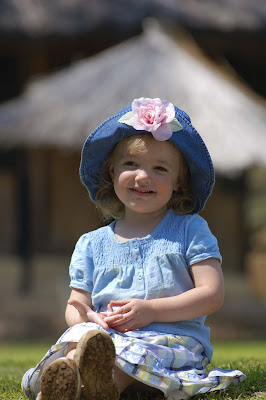
A lot of times people use presets to turn their image to black and white. Usually, it turns out to be more grey-scale than anything else and looks very washed out. I'm going to introduce to you an exceptionally easy method of how to make a black and white image and bring out the details at the same time.
Our program that we'll be using is Adobe Bridge. This is a utility that is often overlooked and yet is extremely powerful. We'll get more into AB (Adobe Bridge) later on with its main functionalities.
Find your photo using the folder column to the left and right click on the photo you want to edit. In the box that appears, click- "Open in Camera Raw".

Another box will open in Camera Raw. Click on the "HSL / Greyscale" tab.

Then proceed to click on the "Convert to Greyscale" check box.

Now go back to the "Basic" tab where you'll be able to make most of your adjustments. Note that every picture will have different adjustments depending on its lighting. So, just have fun playing around with your own settings.

By now you'll have a great black and white shot. Just another option might be to add a lens vignett. Click on the "Lens Corrections" tab and again make the necessary adjustments depending on how much of a vignett you want. Note that if you move the "Amount" sliders to the right you will have a white vignett verses moving it to the left and making a black one.

Now just click on the "Open Image" button on the bottom and your newly edited picture will be opened in Photoshop where you can save it in whatever file that suits you most.
Again, you can do a lot with Adobe Bridge in Camera Raw. We'll go over some more great techniques soon!


